1.3 Installing
To install the search engine software, you need to clone the repository.
$ git clone https://github.com/MarginaliaSearch/MarginaliaSearch.git
This will create a directory called MarginaliaSearch in your current directory. Change into that directory, and run the setup.sh script.
It will download a bunch of additional files, primarily from https://downloads.marginalia.nu. This is necessary as the search engine uses large binary model files for language processing, and these don’t agree well with git.
$ run/setup.sh
Next, you need to build the sources and create docker images.
$ ./gradlew docker
Finally, you can install the search engine. To do this, a script is provided that will create a directory structure and copy the necessary files into it. The script will also create a docker-compose.yml file that can be used to start the search engine.
$ ./run/install.sh /path/to/install
You will be prompted for a few things. First, you will be asked whether to create a barebones 1-node deployment, a barebones 2-node deployment, a marginalia search like install, or a non-docker install.
- The barebones variants are for running a general purpose search engine
- The full install is for running a mirror of the Marginalia Search Engine (e.g. for development tasks).
- The non-docker install mode is experimental, and will set up what you need for running the system outside of docker. The installer will produce a README in the install directory with the remaining setup steps.
If you plan on mixing sideloaded and crawled content, a 2-node deployment is recommended. You can add additional nodes later, but this is a bit involved and requires modifying the docker files.
After having selected an install mode, you will be asked to create a mariadb user and password. This is used for the database that stores the supplemental data for the search engine.
Finally, the script will copy the necessary files into the install directory, and create a docker-compose.yml file. You can then start the search engine with docker-compose up -d.
$ docker-compose up -d
The search engine will take a moment to start up, and you can check the logs with docker-compose logs -f to see when it is ready.
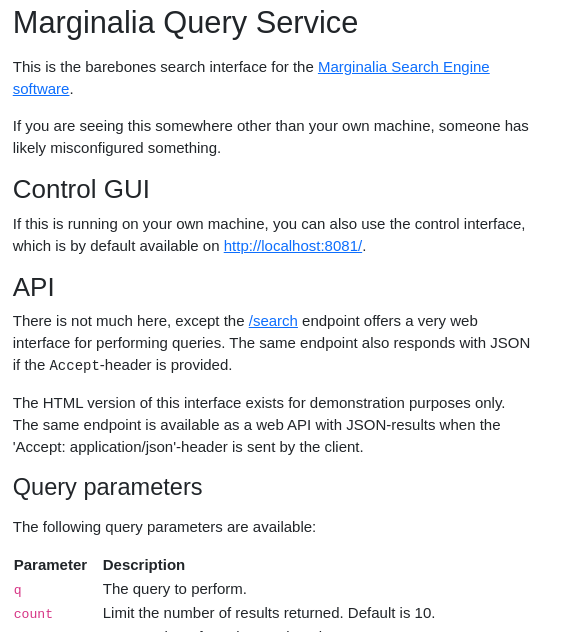
Once started, you can access a basic search interface at http://localhost:8080/. This is a barebones search interface, and is not intended for general use. It is primarily for testing purposes. The search engine is designed to be used over REST, and the search interface is just a thin wrapper around that.
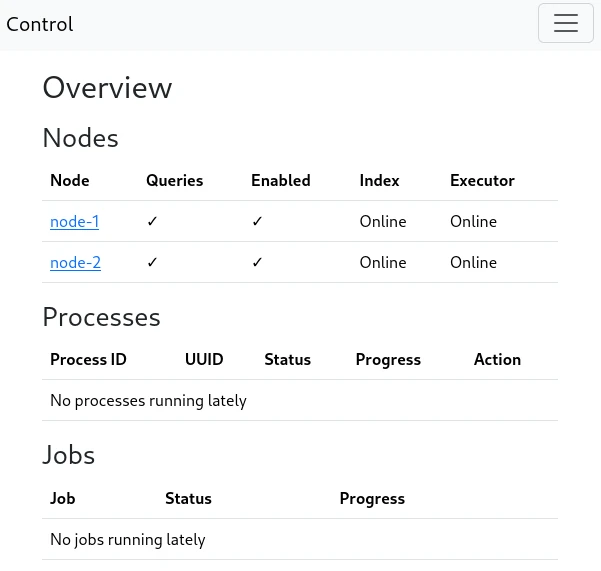
You also have access to a control interface at http://localhost:8081/. This is where the search engine is configured and operated.
NOTE: On first start-up, the control service will spawn first and then perform database migrations, then the other services will start. There is a rare race condition bug that sometimes occurs on first start-up causing only the control-service to fully launch. If you aren’t able to access the system at port 8080 within a several minutes, but port 8081 is fine, stop the system and re-start it. This issue only happens at the first start of the system.
Common problems
502 Bad Gateawy
You may see a 502 Bad Gateway-style error up to a minute after everything is started. This is normal. The system is relatively slow to start.
Errors from re-installation
If you install the system from docker, start it, and then try to install it someplace else, the original docker configuration will block the installation and this prevents the new installation from starting. The associated containers and volumes and networks from the initial install needs to be removed first.
It should on paper be enough to do a docker-compose down -v from the old install directory, but some combination of docker container prune, docker volume prune, docker network prune may also be necessary; these commands remove unused docker objects system-wide, be sure you understand what they do!
Can’t access the system
By default, the docker installations bind to localhost. This means the system is only accessible from the same IP as the machine it’s installed on.
The preferred way to fix this is to use a reverse proxy to expose the ports. Note that the system does not offer any form of authentication for its control interface, and that you are responsible for keeping it safe, either by keeping the port inaccessible from the public and using VPNs or SSH tunnels to access it, or by using some middleware that adds authentication.
If the system is not on a public IP, you can also change the bind address in the docker-compose file by finding ports block of the traefik segment, and e.g. changing
    ports:
      - "127.0.0.1:8080:80"
      - "127.0.0.1:8081:81"
      - "127.0.0.1:8090:8080"
to
    ports:
      - "8080:80"
      - "8081:81"
      - "8090:8080"
Note that this makes the control interface publicly accessible.